Alocasia corms: how to sprout them step by step
August 22, 2026
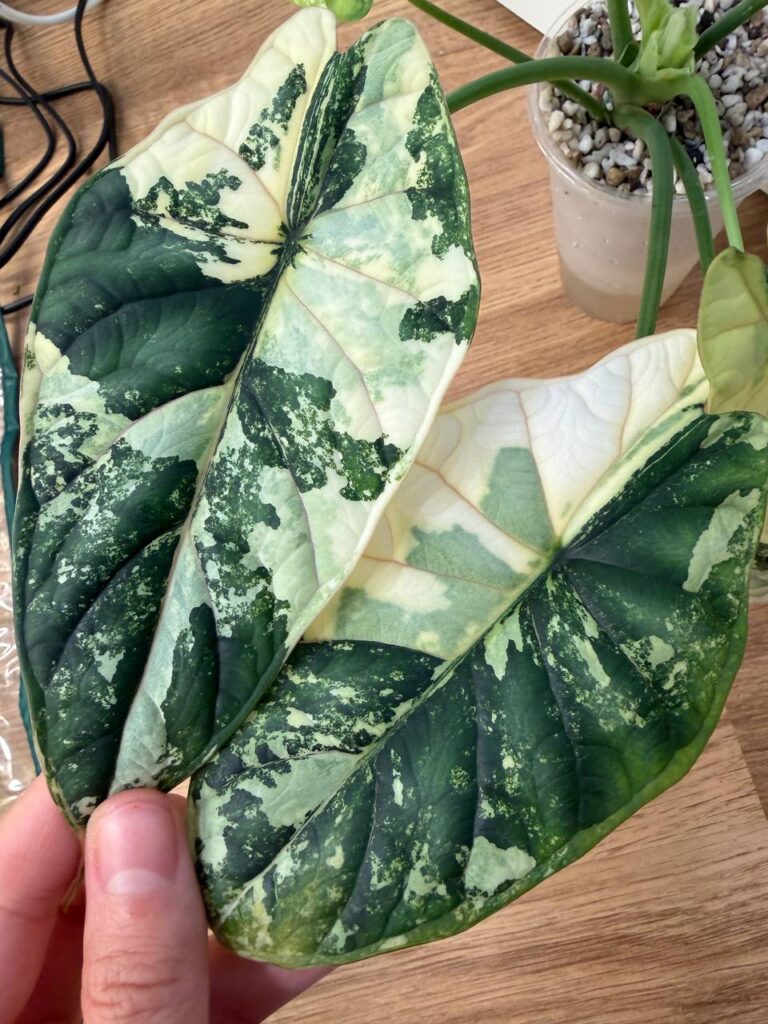
A corm is the Alocasia's storage organ: a kind of small, hard, teardrop-shaped bulb that the plant forms underground and with which it survives the dry season. A whole plant can be born from each corm, and that's why it's the most economical way to start with a rare variety. Many of the shop corms are sold already rooted (we indicate it in each listing), so the most delicate part is done; even so, it's worth understanding the whole process.
What a corm needs to sprout
Three things: constant warmth, high humidity and air. A healthy corm is firm and light-coloured inside; if it's soft, dark or smells bad, it's rotten and won't pull through. Before you start, carefully remove the dry brown outer layer (the “shell”) if it comes off on its own: that way the corm absorbs moisture better and you can better spot any soft patch.
Step by step
1. Prepare a closed container
A transparent jar or tub with a lid works perfectly. Put a couple of centimetres of damp sphagnum (wrung out, not dripping) or damp perlite in the bottom. The transparency lets you see the roots without touching anything.
2. Place the corm with the tip facing up
The pointed part is where the shoot will come out; the rounder base with root remnants, facing down. Bury it only halfway: the tip has to stay in the air. If you're not sure which is which, lay it on its side; the plant orients itself.
3. Warmth, soft light and patience
Close the container and leave it in a warm spot (24-28 °C) with indirect light. On top of a router, an appliance that gives off gentle warmth or with a heat mat works wonderfully. Open the lid for a minute every two or three days to refresh the air and check the sphagnum is still damp. The first roots usually appear between the second and fourth week; the first leaf, a few weeks later. Some corms take two months: as long as it stays firm, there's hope.
4. When to move it to substrate
When it has several 3-5 cm roots and at least one open leaf, transplant it to a small pot (7-9 cm) with a very airy mix: substrate, perlite and bark in equal parts. Keep humidity high for the first two weeks, for example with a bag or a transparent dome, and open it gradually so the plant gets used to the home environment. From there, it's cared for like an adult Alocasia: we explain it in the Alocasia care guide.
Corms that come already rooted
When the listing indicates that the corm comes rooted, the corms from our shop arrive with roots and, sometimes, with the first shoot peeking out. In that case you can skip steps 1 to 3 and plant them directly in a small pot with airy substrate, keeping humidity high the first week. You receive exactly the corm in the photo, grown and acclimatised at home, and with shipping protected so it doesn't suffer along the way.
Typical mistakes
- Dripping sphagnum. Damp yes, soaked no: excess water is the number one cause of rot.
- Burying it completely. The tip needs air and light to decide to sprout.
- Cold. Below 20 °C the corm stays dormant and can rot before getting going.
- Impatience. Opening, touching and moving the corm every day breaks the new roots. Look, but don't touch.
- Throwing it out too soon. If it's firm, it's still alive. Give it time.
Questions about a specific corm? Write to us with a photo at info@marinasjunglegems.com and we'll tell you what we'd do.
Text written with the help of artificial intelligence and published by the Marina’s Jungle Gems team.